Menu Close

Tag: Problem solving (page 2 of 5)

App of the Week: Use JavaRa to Update Java and Get Rid of Old Versions

Use JavaRa to Update Java and Get Rid of Old Versions | 40Tech

Java is a bit tricky. A lot of applications use it, and many of them come bundled with their own version of the Java Runtime Environment (JRE) — which they happily and oh-so-helpfully install on your system. This leads to multiple and redundant installs of Java on your computer, each of which may contain potential security threats, and may well leave you scratching your head as to whether you can or should delete them. Wonder no more… JavaRa is a free, light-weight utility that will clean up the redundant versions of the Java runtime, as well as update you to the latest version — and it has a few other tricks up its sleeves, besides.

There is no installation for JavaRa. It’s just a simple executable with some language options (English, Dutch, Spanish, Italian, French, German, and Finnish). Just click and go — though you may want to run it in Administrator mode for Windows Vista and Windows 7. The buttons are fairly self-explanatory: Search for Updates will search for the latest Java version, and Remove Older Versions will clean up your system.

If you’re looking to do a little bit more, click on Additional Tasks. You’ll get a pop-up that allows you to remove startup entries, other useless Java bits like logs and temp files, as well as get rid of the Sun Download Manager, and a few other goodies.

JavaRa Additional Tasks | Remove Old Java Files | 40Tech

JavaRa is a great little tool and can be found for free on SourceForge.


Three Low-Cost, DIY Ways to Use Your Smartphone While Wearing Gloves

image

So I’m in Winnipeg now. Winnipeg, affectionately referred to as Winterpeg, and thought by some (possibly me) to be a window into the truth behind the colloquialism “when Hell freezes over.” Okay, so I’m being a bit dramatic — but it can get freaking cold here in the depths of winter, man! Minus 75 degrees Celsius in the wind isn’t uncommon here. I have no idea what that is in Fahrenheit, but I’m sure you Americans will agree that anything north of Fargo has got to be cold.

In any case, my new location has me continuing my investigation into how to use my tech while freezing my butt off. Previously, I talked about winterizing smartphones, tablets, and laptops. My latest quest has been how to use my capacitive touch screen devices without having to take my gloves off just to answer the phone. And we all know I’m into doing things on the cheap, so we can squash any thoughts about buying those fancy-schmancy touchscreen gloves. It’s DIY or die, baby! This is what I found:

Perusing the Google brought forth three methods from three different, and trusted sites — Lifehacker, Make, and Instructables.


Sewing Conductive Thread

Instructables has a nice tutorial on sewing about a foot of conductive thread into the fingertip of a glove. The idea is to sew just a few close-set stitches (3-5) on the touchy-feely side of the glove, keeping things to about 1/4″ (6mm) in diameter. Smaller is bad, as your iPhone or other smartphone will pretend you don’t exist, and too big will sacrifice accuracy. Why all those inches of thread for just a few, small stitches? Because you want to leave a rats-nest of the special thread on the inside of the glove’s finger, to make sure you get good conductive contact. You may also want to save some for other fingers so you can do multi-touch gestures and the like.

The whole operation costs less than $5 (not including the gloves of course).

Instructables Touchscreen Glove with Conductive Thread


No-Sew Method 1: Snap-Fastener

Make Projects has a slightly different take on the subject. They take the complicated sewing out of the equation and shove a brass or nickel-plated snap-fastener right through the fingertip of a heavy glove so it can go clickety-clack on your screen. Now, one might be concerned about scratching or cracking the glass, but if that is the case then I say to you, this: how hard are you tapping your screen anyway? Are you angry? Calm down, guy… seriously.

In a way, this method is more complicated, as it requires more tools than just some thread abd a needle. There is little in the way of precision required here, however, and you get to hit things with a hammer (when you set the snap-fastener’s rivet).

This method costs about $5 to $7.

Make Projects No-Sew Touchscreen Glove with Snap Fasteners


No-Sew Method 2: Thermal Compound

Leave it to a Lifehacker contributer to come up with a clever and cheap (albeit messy) way to get the job done. Easy, too. This method would work better for thinner gloves, I should think, but be that as it may, it’s pretty cool — and there is not even a dream of a pun intended there. All you need here is a little CPU thermal compound rubbed in to the fingertip of your glove, and voila! No fuss connectivity. Well… no fuss until you need to rub some more in — and maybe a bit of increased screen cleaning.

This is by far the easiest method, though it lacks permanence. The cost of thermal compound (available at most computer stores) is about $7. You can even get it at Radio Shack.

Arctic Silver CPU Thermal Compound Used for Touchscreen Gloves


Those were the best — and cheapest methods I found to use your touchscreen tech in the dead of winter. Which one’s your favourite? If you have any other suggestions, I’d love to hear them!


Winterizing Your Portable Tech

Winterizing Your Portable Tech | 40Tech

I find myself spending an inordinate amount of time in the soon to be frozen hell that is central North America. This has led me to consider things that, heretofore, I had no inkling about while hanging out on the often wet but nearly always mild Northwest coast. Things like: how to touch my smartphone or iPad screen in the freezing cold weather, should I even bring the damned things out in the freezing cold weather and, oh, what about my tech and the, you know, freezing cold weather? So I did a bit of looking around, and here are the best tips that I found…

The biggest — and most obvious — suggestion was to just never take the things out when it’s truly cold, and to make sure you never forget them in your car. This sort of silliness can lead to cracked screens (especially for the glass ones, like iPhones, iPads, and other smartphones and tablets), and dead batteries. That’s not all, though. Condensation is also a concern. Nothing like little droplets of water forming inside your electronics. That’ll make for a fun and expensive day, yes?

Condensation can form inside your device if you turn it on while it’s still cold. The best advice I’ve found to avoid this is to wait until your toy — or essential life device (ELD) as the toys are fast becoming — reaches room temperature before turning it on. Other management options are to try and keep the things warm in the first place. There are laptop warmers out there, and someone is probably bringing heated iPad cases to market as we speak, but the tried and true option is to keep the device close to your body. This only works if you dress warmly, however — and it really only works for smartphones or little wee-tablets.

If you do see condensation, don’t turn on your device. Wait! You’ll want to check if it’s still working but that is an incredibly bad idea! Instead, stick the thing in some uncooked rice — cover it! — and let that attempt to draw the moisture out. It may or may not work, but it’s your best chance, even if you drop your device in a puddle or something.

The phone doesn’t stop ringing just because it’s cold. You can always purchase (or make) some gloves with removable or conductive finger-tips, but a better option in extreme cold weather is to just keep the thing in your pocket and use a good earbud with inline mic and call answer buttons. Something with music track-changing buttons doesn’t hurt either.

Here’s something I didn’t know: I had no idea that leaving your device in sleep mode can increase the potential for problems and damage in cold weather. I read this on a couple of different sites and, while no one ever said why, they all said that turning off your device completely — at least in regard to laptops and netbooks — is always a good idea before going out into the frozen outside world. Better safe than sorry, I say.

Some sites also advised wrapping your device up in a scarf or something if you have to leave it in your car. If you use it often, this could work, as it will help to keep the device’s generated heat from dissipating. If you leave it out over night — or even for an hour — in really cold weather, however, wrapping it up won’t do a thing. Not unless what you wrap it in has it’s own heat source.

So what do you do to protect your portable electronic devices — smartphones, tablets, laptops, et al — in extreme cold weather?


LapGuard Protects Your Tender Parts From Harmful Heat And WiFi Radiation

LapGuard Protects Your Tender Parts From Harmful Heat And WiFi Radiation | 40Tech

Contrary to the current arc of techno-loving crazy flying about the internet, the laptop is not dead, and tablets — though awesome — have not yet taken over the world. In fact, millions of people are using laptops right now. They’ve got them sitting on (surprise!) their laps, whirring away, blasting their tender parts with heat and WiFi radiation. Apparently, recent reports are saying that’s a bad thing; that it can mess with your baby-having potential. Having just had another cute little baby, I can’t really speak to that — but I have been following reports that WiFi radiation can be harmful, and it’s well-documented that heat is no friend to the business of making tiny humans.

Whether you believe in the dangers of WiFi radiation or not, I think we can all agree that comfort is a good thing. That’s one of the reasons the lap-desk was invented, and — heat and WiFi blocking powers notwithstanding — Digital Innovations’ LapGuard is one of the best I’ve come across.

In the interests of full disclosure, this is the part where I tell you that Digital Innovations sent me two LapGuards (a regular and a Portable one), with a request that I take a look at them and give a fair and honest review. We did the same thing a while back, when we looked at their SkipDr disc repair and cleaning kits. As then, the contents of this review are unbiased and contain only my real, ever-so-honest opinions.


Functionality

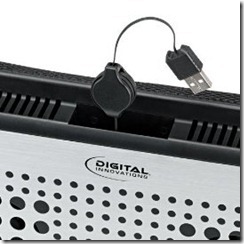
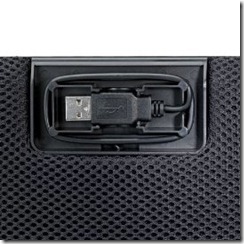
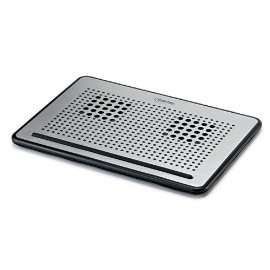
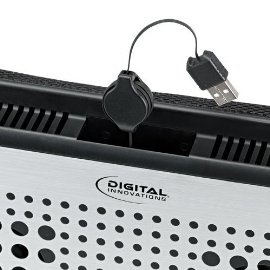
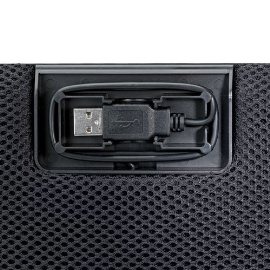
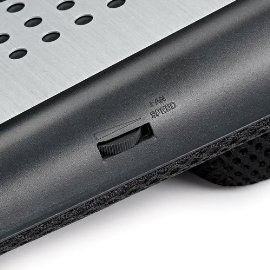
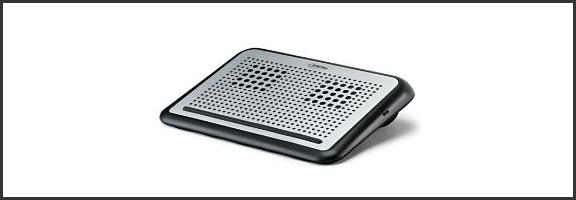
The LapGuard scores well on three fronts: it’s comfortable, it’s quiet, and it’s pretty. It also has some nice features. For example, the Portable LapGuard has a nice spot underneath to wrap up and lock away the USB power cable. This makes storing and packing the thing around much less annoying. The regular LapGuard, which is a bit bigger, also handles the USB cable well — but it’s power cable is retractable. To make things more fun, the regular LapGuard also has a handy fan-speed control dial for the dual fans that can help you conserve battery power while still keeping things chill.
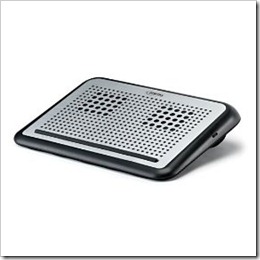
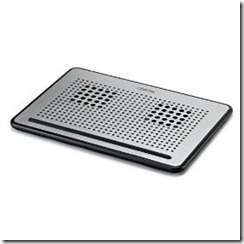
LapGuard Laptop Desk | Digital Innovations     Portable LapGuard Laptop Desk | Digital InnovationsLapGuard Lapdesk with Retractable USB Cable | Digital Innovations          Portable LapGuard Lapdesk with Hidden USB Cable | Digital Innovations

I’m not entirely sure why the Portable LapGuard doesn’t allow for variable fan-speed. It should be possible, considering that the only real difference between it and the regular LapGuard is that the regular one has an additional block of padding at the top that allows for some angled ergonomic comfort while working. Ergonomic comfort doesn’t slide into a backpack very well, though, hence the need for the Portable design.
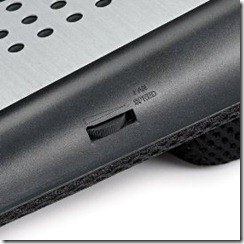
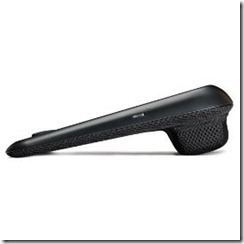
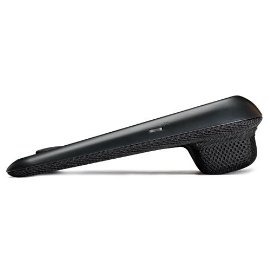
LapGuard Lapdesk Variable Fan-speed | Digital Innovations          LapGuard Lapdesk Side View | Digital Innovations

The fans on both models are, as I said, pretty quiet, and I found that they did a good job of pushing the heat away from me, and keeping my Toshiba cool. And that’s saying something — anyone who has a Toshiba laptop knows that heat can be a problem.


WiFi Radiation Shielding

To be perfectly honest, the WiFi radiation shielding seems a bit gimmicky to me. Sure, sure, Digital Innovations is applying patent-pending technology here – but I have no way of testing to see if it works, and depending on what you read and who you talk to, it’s not even proven that WiFi radiation is a problem. However, if it is an issue, I admit I’d rather err on the side of caution — and if it isn’t… well, the things look pretty and currently only cost $29.99 (Portable) and $37.49, respectively. I’ve been using the LapGuards pretty heavily the past few weeks and I’m more than comfortable with those prices just for the basic use and the look of them. Unfortunately, though, those are just sale prices. The LapGuard is regularly $49.99 and $39.99 (Portable). My cheapness (and my wife) might have trouble reconciling the purchase at the regular prices.


To Sum Up

Pros

  • Retractable (or otherwise hidden) USB power cables
  • Comfortable
  • Variable fan-speed (regular model)
  • Pretty


Cons

  • No way to be sure if the WiFi radiation blocking is working or even necessary
  • No variable fan-speed on the Portable LapGuard


Would I buy it?

Yes — for myself or as a gift. Only at the sale price, though.


What’s your favourite lap-desk?


Kickass Undelete: Portable Recovery Awesome for Permanently Deleted Files [Windows]

Kickass Undelete: Portable Recovery Awesome for Permanently Deleted Files | 40Tech

Computers are a constant source of fun and potential ulcer-creating stress. This is especially true — at least in the latter respect — when we find ourselves needing that oh-so-important file that we just deleted from the Recycle Bin. Or lost in a crash. Or from any other of the number of creative ways Windows can eat your work. There are several data recovery tools out there, and they come in varying degrees of complication and quality. If you are looking for something simple, though — something that you can take with you, and even use on a flash drive — check out Kickass Undelete.

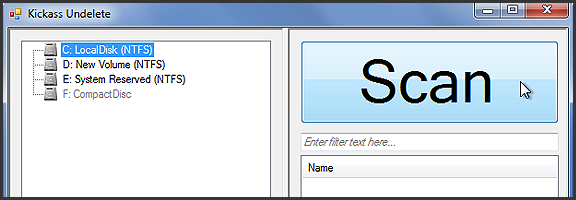
Kickass Undelete is more than just a fun name. It’s portable, it’s pretty effective, and it’s big-button easy. All you need to do is select the drive you want to scan for deleted files, hit the ginormous Scan button, wait a tick, and then sort through the list of deleted files for the one you’re looking for. To help you along, Kickass Undelete allows you to sort by Name, Type, Size, and Last Modified date. Select the files you want to restore, then hit the also-sizable Restore Files button, and you’re all good!

Kickass Undelete is free and open source. Download it here.

Easily Recover Permanently Deleted Files With Kickass Undelete [AddictiveTips]